|
|
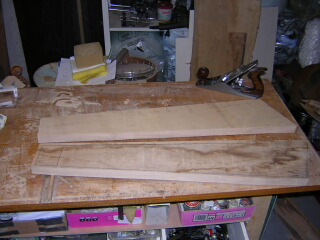
These are the two sides of the
sound box, which are angled in towards the back, and inwards towards the
top.
I rough-planed the planking first as it had been drying for several years outside at the wood yard, and was fairly dirty and dusty. Once the grain, and more importantly the imperfections, were revealed, it was possible to locate where the side pieces could be cut from.
|
|
|
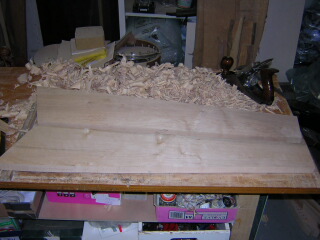
Here the sides are being planed down to thickness by hand from the 30mm planks, having been rough cut by saw and on the bandsaw. Once that was done, I rough sanded with 80 nd 180 grit, to give a good surface on which to work/draw/carve. |
|
|
Because the sound box is angled in every direction, (it leans backwards, the sides are angled back in towards the back, and the top is much smaller than the base...) it was necessary to cut the joins with great care. Every cut was angled precisely, and by hand it was almost impossible to get them all right. It have to admit I did look around for a bit of kit that would allow me to do this more accurately than my angle guide........ but found nothig that would fit the bill without costing me a fortune. |
|
|
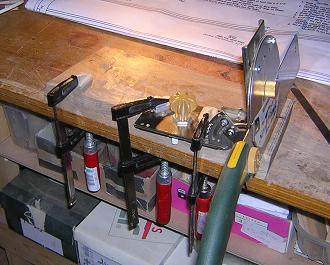
Finally I opted for an adjustable saw guide to enable me to make an angled cut in a flat piece of wood, which was not at right angles to the front, nor was the front a good edge for the guide to rest against. This one was bought from Dick Tools in Germany, but I'm sure there are other alternatives. Once clamped down it worked quite well. |
|
|
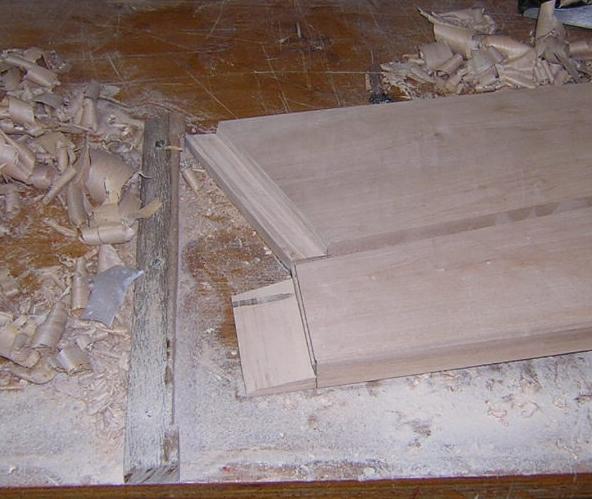
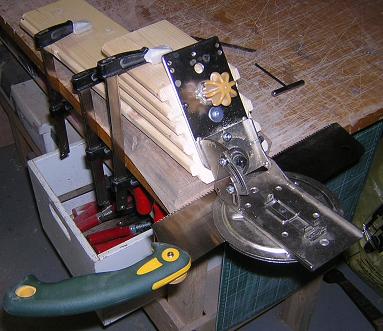
A particular problem, was
making angled cuts in the end of wooden sections. The angle guide needed
a flat surface to operate on.
This was my Heath Robinson solution........ I built a block at 45* so that I could extend the saw guide to more than 180*. I screwed the saw guide to the 45* angled surface. By clamping the whole thing on top of the piece to be cut, I was able to use the saw guide to get controlled cuts into the end of the wooden part. The exact position of the saw blade could be adjusted using the angle guide, but also by exactly where the angled block was clamped to the piece to be cut. All very fiddly, but it worked.
|
| Before assembly, it was necessary to make slots at the front and back inner edges, so that the soundboard and back could be slid into place. | |
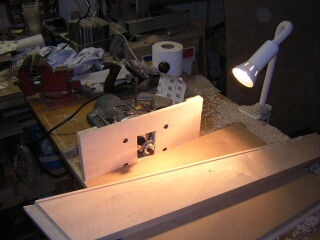 |
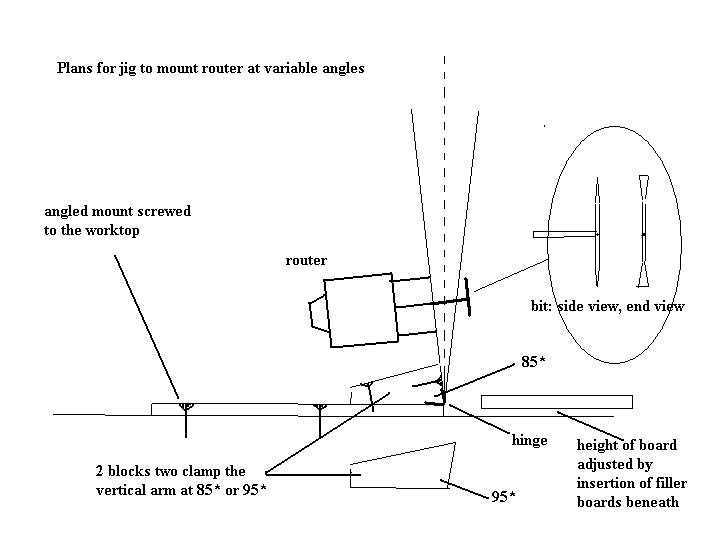
This proved quite a problem, because according to the plans, the slots had to be angled to 5* in at the front and 5* back in the back. The sides are not square relative to the front or back! Eventually, after several abhortive dry-runs, I came up with an adjustable router fence, that would angle backwards and forwards, and a bit that would do the job. (Not the first I tried...! I couldn't believe, none of the router bits I found on the internet had cut sizes indicated.) The top needed to be routed in the same way, to accomodate the top of the back and front panels.
|
|
|
|