 |
The plans recommended a
plywood soundboard, but I decided that a proper tonewood one would be
much better. I bought a jumbo folk guitar top.
On a harp, the grain on the soundboard should run from side to side, the string pressure running up the centre of a harp means that it cannot run vertically. In order to get the grain on the guitar top correctly oriented for the harp, it was necessary to cut it into several pieces. |
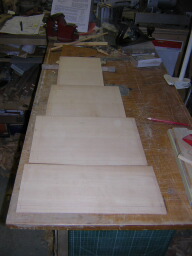 |
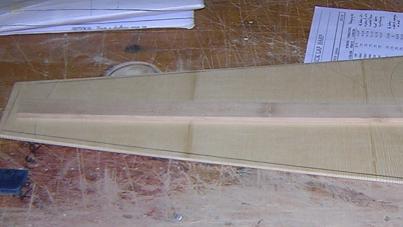
Here the pieces are roughly
arranged to show the rough soundboard shape before gluing. The
joined edges of the sound board
pieces must be perfectly straight.
Here I am shaving them down in pairs on the shooting board prior to gluing.
|
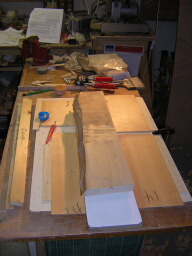 |
Having checked to make sure that the
edges match perfectly, I glue on a gluing board, with a batten
beneath the join. Having pinned both sides with nails, (not through the
board, just outside it...) and loaded the top with
weights, I remove the batten. The weights push the two pieces down and
together while the glue sets. (You need to check they are the same
thickness before gluing, or it will not leave you with a good flat join).
I glued the top 2 sections and the bottom 2 sections like this. |
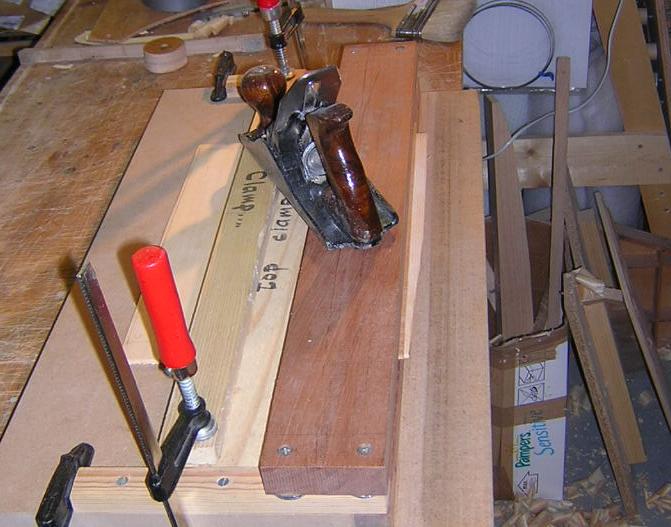 |
This is the 'shooting board' used to ensure that the board edges have perfectly straight edges for gluing. Both sides of the join are put in together, and planed flat. |
|
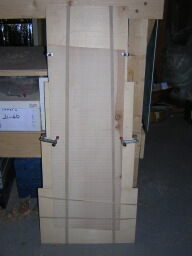
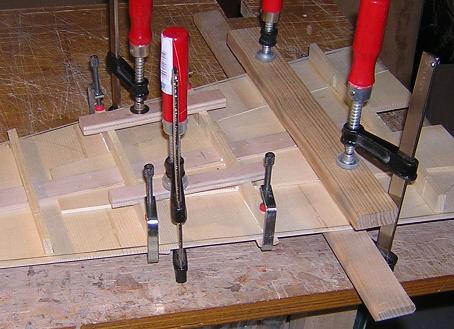
Gluing the two glued halves of the soundboard was a little more difficult, as it is really too long to fit into the gluing board. So, having checked that the edges matched, I clamped the two halves between 2 boards, (plastic to stop squeeze out from gluing the top to the brace boards) and applied pressure with several large elastic bands. |
 |
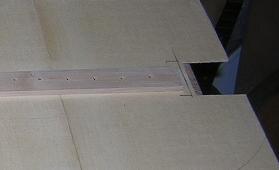
Before the sound table is fitted, the string holes need to be drilled, but first a re-enforcement is glued on the back of the soundboard to prevent the strings ripping through. |
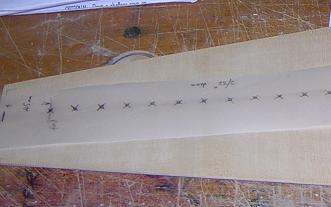 |
String holes are marked out on tracing paper. This I then taped to the top, and tapped each hole's position with a hammer and nail. |
 |
The holes were drilled through from the front, though I discovered that as marked on the plan, the holes were too low. I was forced to lose the bottom hole, and add another at the top to get the string length correct, especially at the top. |
 |
Before installing, I glued in a strengthening plate and then ladder struts. This was to prevent the top bowing under string pressure, which was a problem with the first harp. Currently I do not know if the bracing is too heavy or not, but if everything remains stable, I can pare the struts down quite a bit later. |