 |
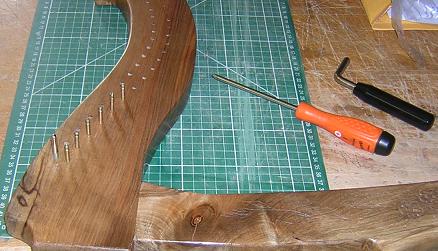
It was only at this stage, after the
finishing, that I could install the tuning and bridge pins into the
pre-drilled holes.
The tuning pins are installed with the tuning lever, and the bridge pins with the screwdriver. |
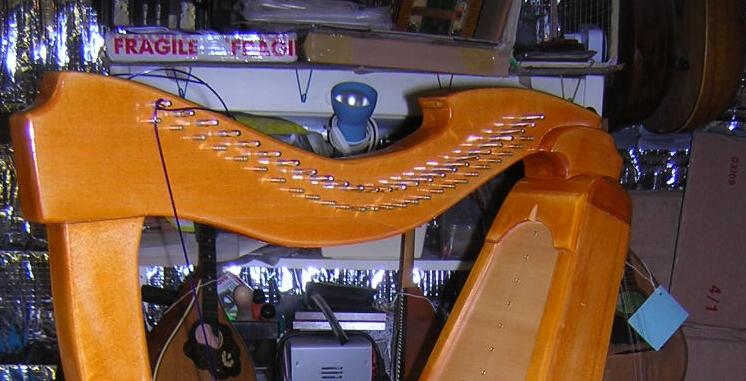 |
The strings are installed from the bottom first, over the bridge pin and through a small hole in the tuning pin. A tuning lever is then used to bring the strings into tune. Here stringing up has started. The strings were varying thicknesses, thicker on the longer bottom strings.
|
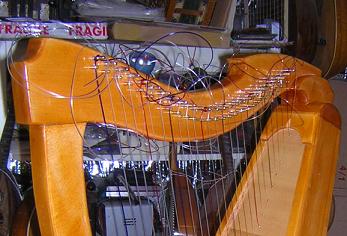 |
Here the harp is strung up.
The coloured strings marking the positions of the F and C strings, facilitate navigation amongst the strings whilst playing. Once installed, it took a couple of weeks tuning regularly before the strings settled down and stayed in tune. It was only when this happened that it was possible to install the levers. To finish it was only necessary to trim off the string ends. |
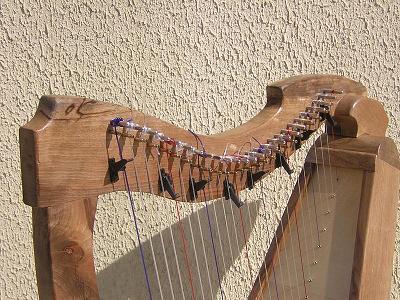 |
I installed levers on the C (red) and F (blue) strings, which enables the keys of C G D Em Am, the keys most commonly used for Irish music. |
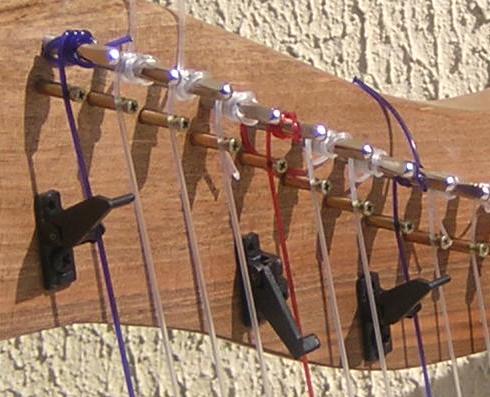 |
The placing and fitment of the levers is particularly critical, and must wait until the harp has been fully tuned, and settled down over some time. They must lift the string just enough to create a clear note, but not so much as to foul the lever when not in use. The correct depth of the bridge pins is essential.
|