| Once you have a bridge, the task of setting up falls into several categories, none of which is logically first or last, because each affects the other. In fine tuning you may need to return to any point in the process. However, that said, I do go about things in a certain order. On a good day this process can take me an hour or two......... on a bad day......... well, I quit and come back to it later! For more detail on each step, follow the appropriate link.......... | ||||
| 1. Fret Levelling | 2. String Choice | 3. Bridge Set-up | 4. Nut Adjustment | 5. Fine Tuning |
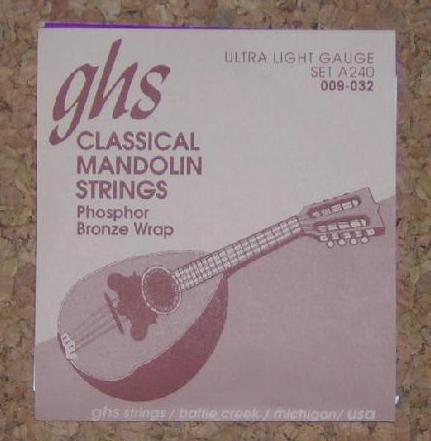
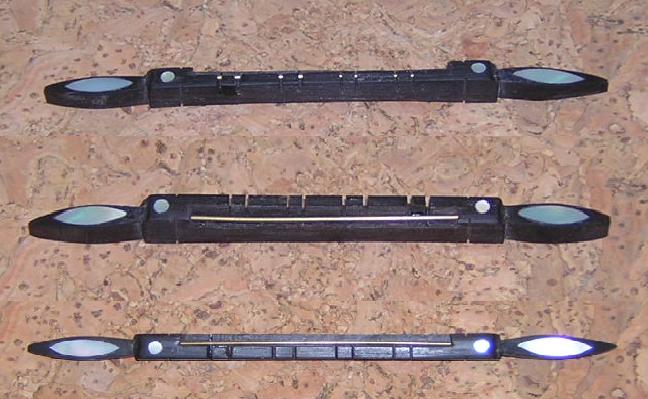
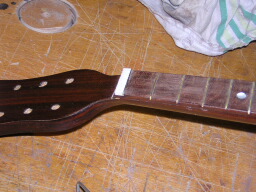
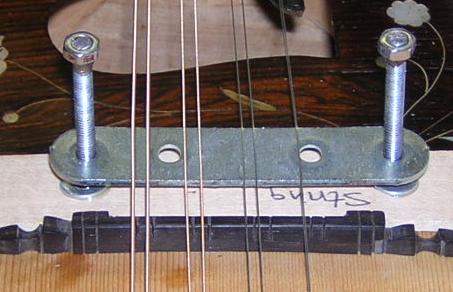
| It is important to check that the frets are in fact level before anything else, because otherwise, a good set-up is impossible. If the frets need to be levelled or dressed, you can do this with a few simple tools, but it is a whole lot easier with purpose made tools... notably a fret crowning file. | This is critical as choice will determine the width of string slots in both nut and bridge. With slots too wide you will get rattles or buzzes, too narrow and the strings will bind in the slots making tuning difficult. I always try to choose the lightest possible combination to reach the desired effect. | I do this in 2 stages: foot fitting, by carefully chiselling/rasping/sanding and repeatedly checking the bridge foot; and height, with strings 1 and 8 on, so that the strings are 1.5 - 2mm above fret 12. A most useful tool for removing the bridge is my home-made 'string lifter', far easier than de-stringing for each trial, especially later when fine tuning with ALL strings on. | Obviously the nut must be on at least roughly to set up the strings, but I only work on the height of the strings above fret 1 once I have the bridge in place and a good height at fret 12. I try to lower the strings so that only a thin piece of paper will slide between fret and string. Feeler gauge useful here! | Finally, with the frets level, bridge height set, and nut slots adjusted, I tune up to concert gradually and start fine tuning slots and individual string heights. At this point I tune a string down, and lift it out of the slot to work on it, unless the bridge needs substantial adjustment, when I remove using the string lifter. A hand lens comes in very handy here!! |
| Fret levelling | Strings | BridgeFitting | NutFitting | String lifter |
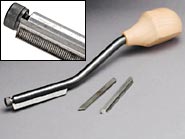
StewMac. about 50$ |
 |
 |
 |
 |
| NB. If you have a radiused
(bevelled) fretboard... don't start without a lot of thought and research, you will
need more specialised tools.
All of the above is equally true for all the other instruments that I work on. |
||||