| Introduction | |||
| The first task in a refret is to decide what kind of fretwire you wish to use. If it is an old instrument and you want to keep it as authentic as possible, there are several options, A-C. It is not now normally possible to acquire these types of old fret, except where they have been recovered from an old instrument. I may have some depending... | |||
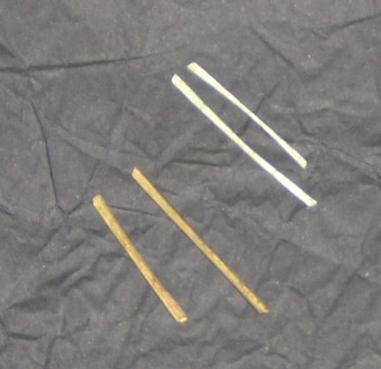
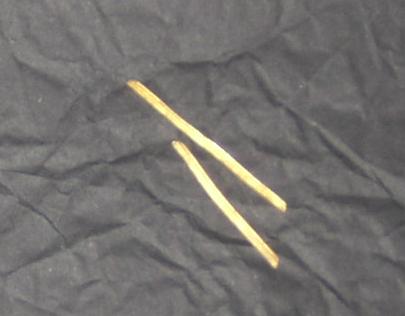
| A. Bar frets (brass or 'German Silver') | B. Early T frets | C. T frets with tangs | D. Modern T frets |
 |
 |
 |
 |
| These can vary in thickness from 0.75mm to 1.5mm, though 0.9-1.1mm is most typical. | These are usually brass, and tend to either very rudimentary or no teeth at all. | These approach more modern frets, but I have found the crown is often quite low. | Vary from 1mm to 2.5mm but I tend to use 1.2mm for mandolins. |
| New Frets | |||
| If you are replacing with new frets, there are a bewildering range of fret sizes to choose from, available from both StewMac and Touchstone. In the end, it may come down to your personal preference. Some prefer chunkier frets, but these could be said to pull the strings out of tune more. Others prefer lighter frets, but with these it is often seen as harder to get a clean note. Your choice. | |||
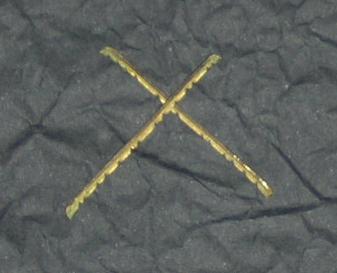
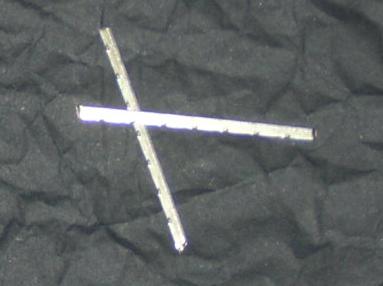
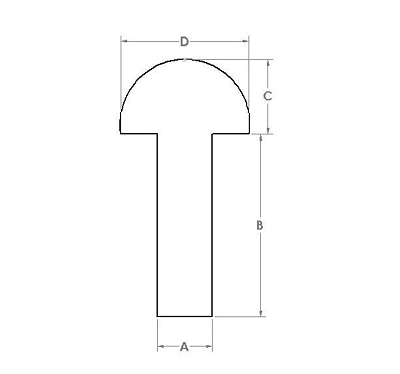
Frets are generally described in
the following way:
Measurement A is crucial on the old fret, as it will indicate the size of the slot. Buy wider frets and they will be difficult to fit...... narrower frets, and they are likely to be loose. Less
useful is this, which does not indicate slot width. |
 |
||
| It is possible to manage with ordinary tenon saws when cutting fret slots, but if you are thinking of doing a few instruments, it is well worth buying a proper fret saw with depth gauge, it makes life so much easier, though the width of the blade does not fit all modern fretwire. | 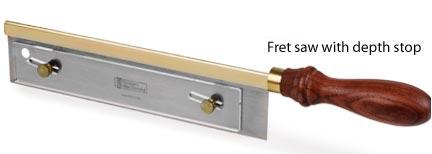 |
||
| Detailed Fretting Pages | |||
| Levelling Frets | Fret Removal | Replacing Frets | Fitting Brass Frets |
