|
Fitting Brass frets (usually on Neapolitans) The first thing to realise is that when brass bar frets are removed, or a fingerboard has to be rebuilt after removal, it is extremely difficult to refit the original frets successfully. From experience with many instruments, it would seem that the original slots on Italian instruments were cut by hand, after the fret-board was installed. Thus, because it is very difficult to keep ones hand level when sawing under such circumstances, the slots are often deeper at either end. The frets removed often have curved feet. When the finger-board is rebuilt on a shim, it is likely the slots will be level, so the original frets then will not fit, the centre often being to thin. Often, the only option is to fit new. German instruments sometimes have brass frets, but these tend to be T frets. Once removed, installation of modern frets into the much narrower slots is an easy option. |
|
 |
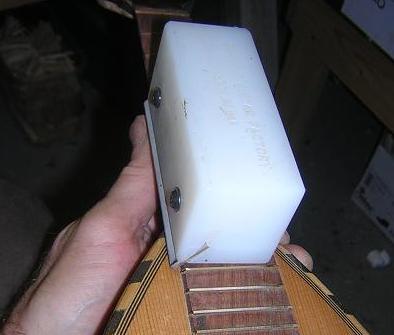
The first step, as with modern fret installation, is to make sure the fret-board is level. I generally start with 80 grade paper around a solid wood block, but quickly graduated to 420 and upwards, to polish the board, once a level surface is reached. (checked with a steel ruler) |
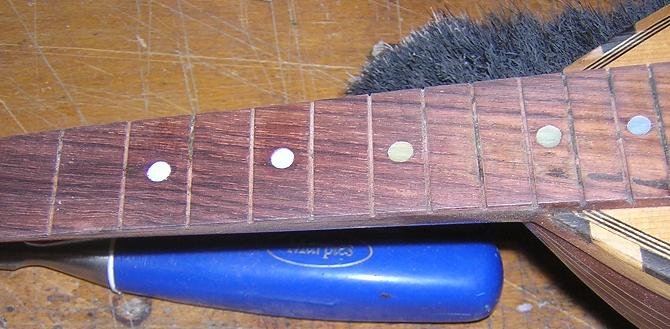 |
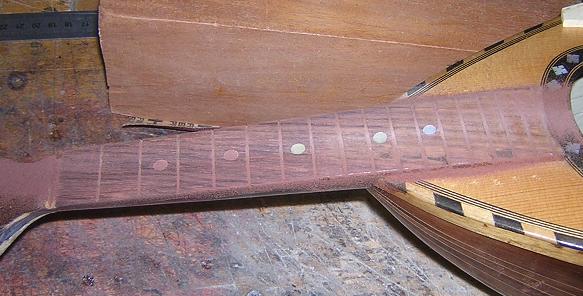
Any missing or supplementary MOP markers are then installed and the board levelled again. If the MOP is a little proud of the board, it will quickly get levelled off in resanding. |
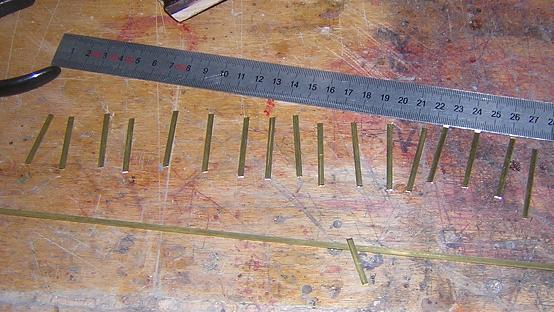 |
The next step is to cut the frets. Most bar fret material comes in a variety of widths, but 1mm thick. I cut each one a little longer than required to allow for fitting and finishing. Note, most fret saws do NOT create a 1mm slot!! Brass widths are typically 1.5mm 2mm and 3mm. You need to buy what ever suits the depth of the slots in the fingerboard, but I find 2mm the most useful, leaving not too much height to be removed later. |
 |
I install with a hammer, lightly tapping each in place after checking the slot depths. Again, I bend them very slightly, and add a little glue to the bottoms, both of which help to keep them securely in the slots. Unlike modern frets, you don't need to worry about tapping these with a hammer, as they will probably need drastic levelling afterwards anyway. |
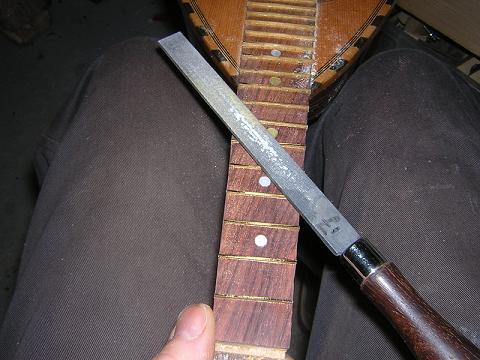 |
I start the rough levelling with a hand file, with the head held in the left hand, pulling the bowl against my knees. In this way you can reach practically all the frets. Once I reach a level low enough I change to graduated sandpaper glued to wood blocks. |
 |
I have a variety of blocks for sanding, all completely flat on the sanding side, and I tend to use 80 and 120 grade paper to achieve a level. Keep checking the state of play with a metal ruler..... it is easy to press a little harder one side than the other and get the level lop-sided if one is not careful. |
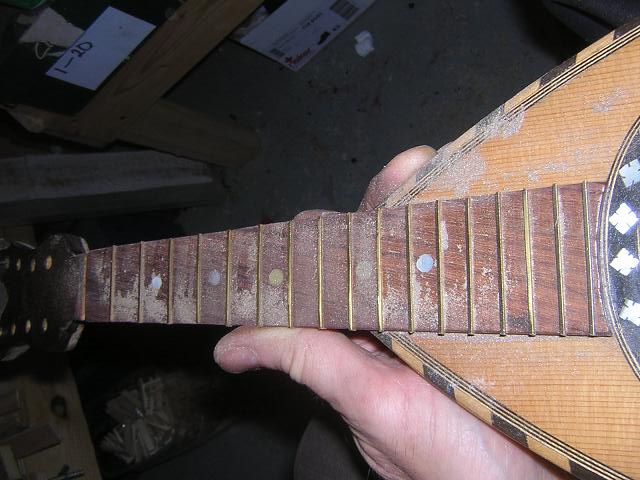 |
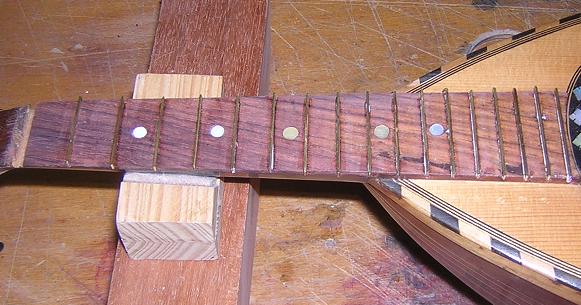
Here the well scattered brass shavings indicate that we have reached an overall level and a good playing height for the frets. The levelling is complete, and the fret dressing can begin. |
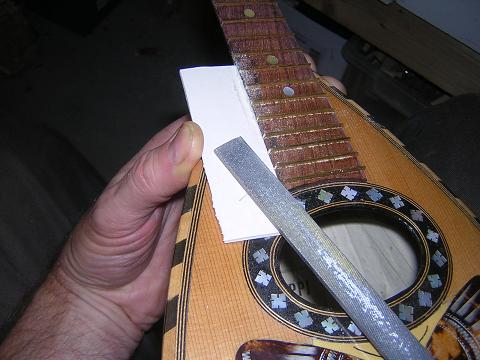 |
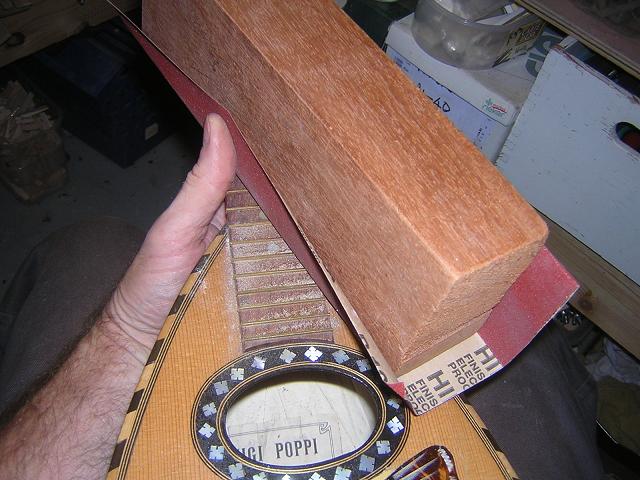
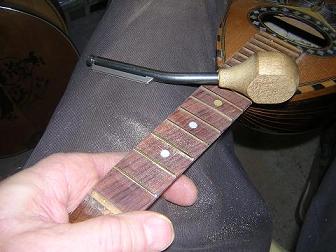
Again using a hand file, I shorten any protruding fret-ends. This is particularly difficult where the fretboard extends onto the soundboard. By holding a piece of thick card on the soundboard, I can get at the fret ends without damaging the top. I have tried tape, but find it is not really thick enough..... though if you have a very thin fingerboard, you have no choice. |
 |
Once the fret ends are trimmed/filed down, then the ends can be angled. This can be done with a hand file, but is slow and laborious, and difficult to get all the angles the same. With the fret end file it is much easier and faster. Here again, care must be taken not to damage the soundboard if it is very thin. |
 |
After levelling, the fret tops will be flat, so will need rounding. I use a fret file, which has 3 different sizes of file, to round off the frets and the fret ends. Take care not to over polish the frets at this point, or the levelling will need to be done again. |
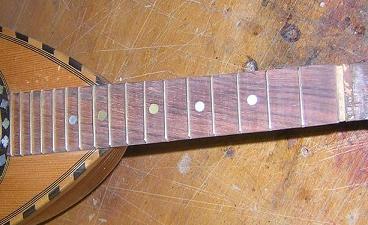 |
Here the frets have been finished..... fitted, levelled, and dressed. Check again with a steel rule that they are still level, before fitting the nut bridge and strings. However, after stringing, if the action is low, I have often found further levelling work necessary with a few frets. |