| Introduction | ||
| Re-fretting should not be undertaken lightly,
as there is quite an art in getting them all level. Choose the frets with
care, to suit your preference and the instrument. Make sure you have some
basic tools, and that the saw you intend to use fits the size of the slot
you will need for the frets.
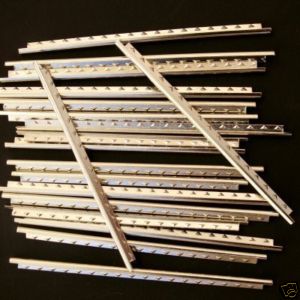
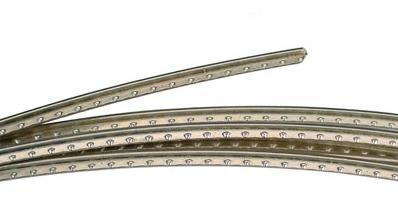
Fret wire can readily be bought ready cut into pieces, usually for guitar, in short lengths of about 50cms, or in rolls by the metre. You should need about 75cms to re-fret a 17 fret mandolin. |
 |
 |
|
|
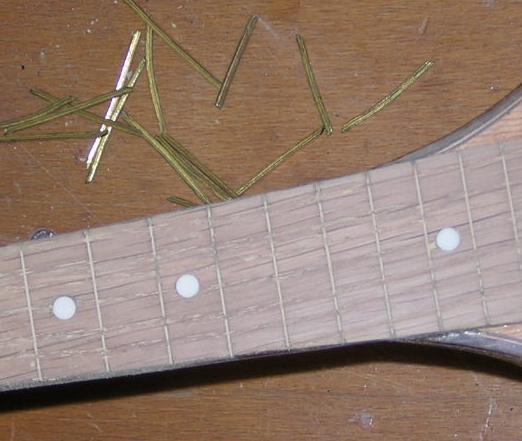
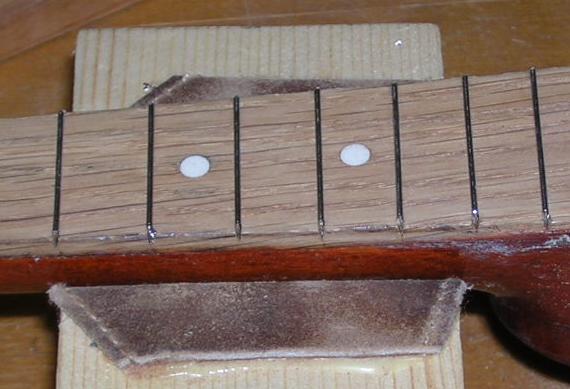
If frets are too worn, or
missing ones can't be matched, they must be replaced. They can be replaced
with period replacements, or a modern alternative. Here the old brass 'T' frets have been removed and the fingerboard given a light sanding to level and clean the surface. If the neck has a dip, the sanding may need to be more vigorous, and the slots re-cut in the sanded areas. |
|
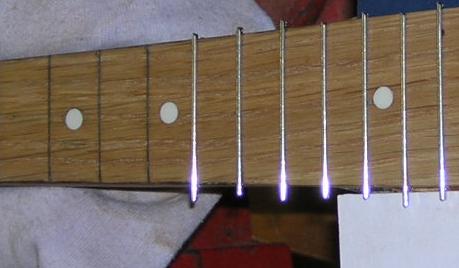 |
A small smear of glue is
added to the bottom of the fret, and I tend to bend them slightly, which
further helps to keep them in place. Then new frets
are tapped carefully into the cleaned slots, and checked continuously for
level over the length of the fingerboard. I use a hammer with a wooden
caul between the fret and the hammer. Take care, as it is easy to tap in a
fret at an angle which often leaves it too high.
Ends are clipped once the glue has set, but I hold the fret down with a block of wood while I do this nevertheless.
|
|
 |
Afterwards, it is usually necessary to
level the frets... Small variations in height are difficult to avoid,
especially where the top flexes as the top frets are tapped in. I use a
piece of sandpaper glued to a smooth flat wooden block. Check the
level with a steel rule along the top periodically, but it is easy enough
to tell where the sanding is happening by the dust left..
Finally the ends are dressed with a file to remove any rough or sharp edges. Here a fretting file is extremely useful. |
|