|
Repairing a narrow split |
|||
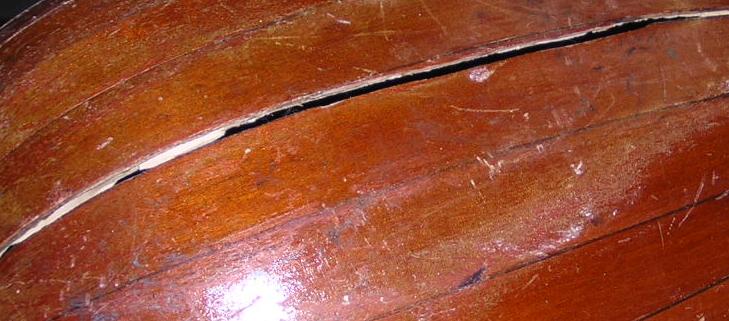 |
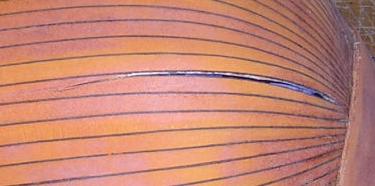
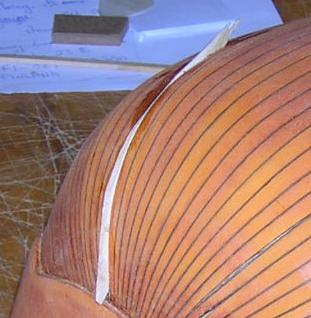
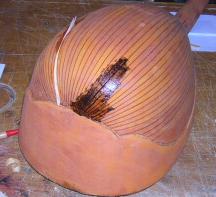
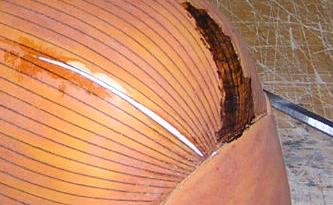
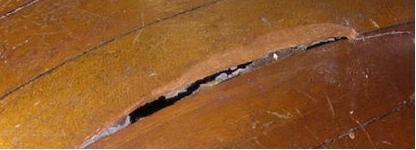
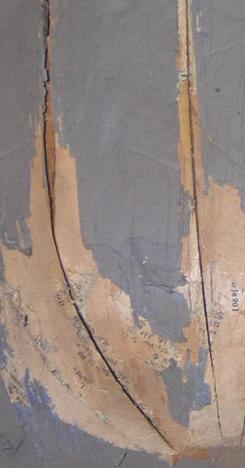
In the old bowl backs, splits the length of the back are common. They tend to be worst around the tail end, where the biggest bending has taken place. Often the glue has failed under stress, but also ribs part because of wood shrinkage. When it is possible to push the two sides together easily, it is a fairly simple matter to re-glue. | ||
| Step by step crack repair: if the crack pushes together reasonably well... | |||
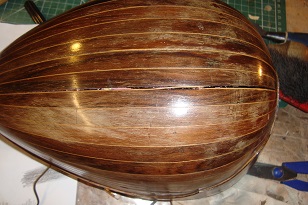 |
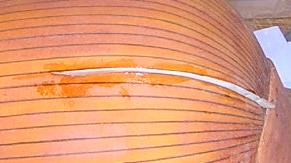
The method I use is illustrated here. I tend to proceed a seam at a time, starting with the least serious separations first. This seam is open all along its length but will push together.... |  |
I spread a thin line of Titebond along the length of the crack, not too much as it will just be wasted.... |
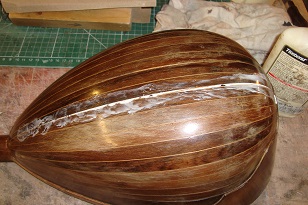 |
Work the glue carefully into the cracked seam by rubbing in a circular motion with your finger, this works excess glue down between the ribs... | 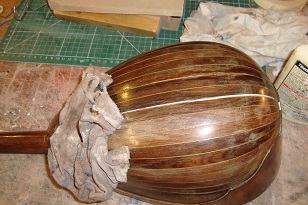 |
Press together with finger pressure and wipe off excess glue with a damp cloth, damp but NOT dripping.... |
 |
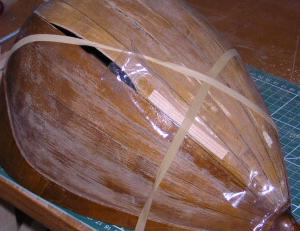
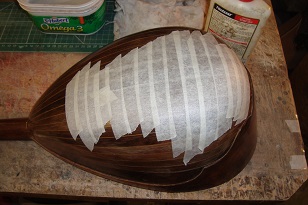
Next I use a dry cloth to dry the area either side of the split seam.... if you don't do this, the masking tape does not hold on the damp surface..... | 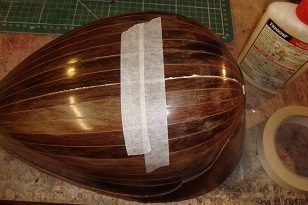 |
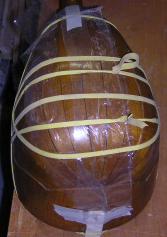
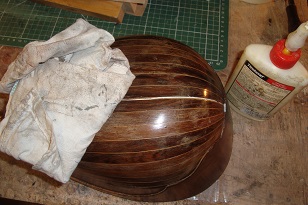
Pull lengths of masking tape tightly across the seam whilst holding it together. As the glue is squeezed out by the pressure of the tape, wipe away a small section wide enough for the next piece of tape.... |
 |
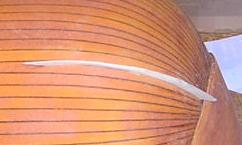
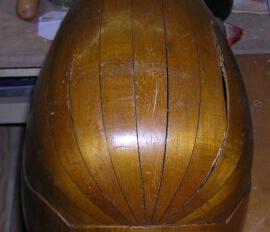
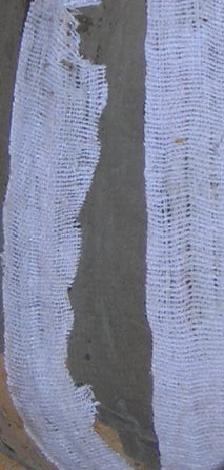
Here is the seam almost totally glued up.... and if any sections are difficult, and are tending to pull apart, just stretch more masking tape over the first in the affected area. | 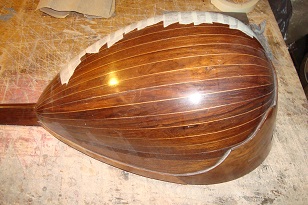 |
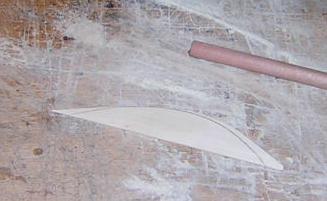
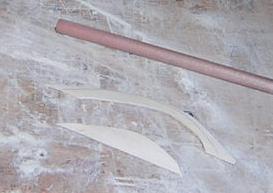
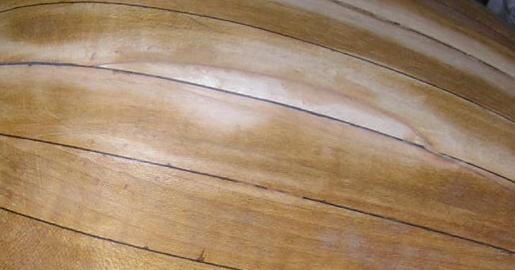
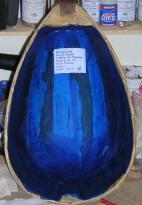
And here is the crack, repaired, and the repair is practically invisible!! The final step is then to add a fabric strip inside to re-enforce the repair.... |