|
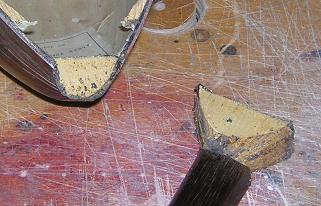
Italian bowls The resetting of an Italian bowlback neck is a difficult process, though various methods can be tried depending on the type of damage to the heel. First of all, we need an understanding of how the heels in this type of mandolin were constructed.... |
|||
|
Many of the mandolins with 'bends in the neck' have in fact moved at the heel, and the neck is in fact still straight. |
|||
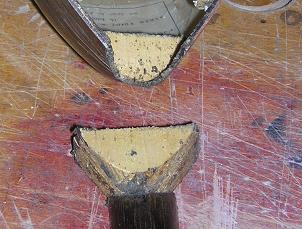
| Here the heel can be clearly seen to be in two sections, after removal it is then cleaned. |
|
|
|
|
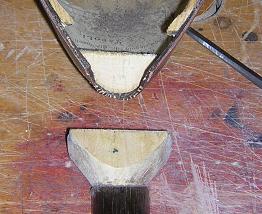
If the heel is split as above, Method 1 can be used to change the neck angle. If the entire heel is loose, it may be split, the lower portion glued back, and the same method used. If the top/heel/neck are intact and well glued, then Method 2 can be used. |
|||
| Method 1 | Method 2 | ||